
The order of a renovation: what happens when, so nothing has to be done twice
The steps of a flat renovation in order: nine stages from demolition to installation, and the decision each one needs in place by then. A designer’s guide.
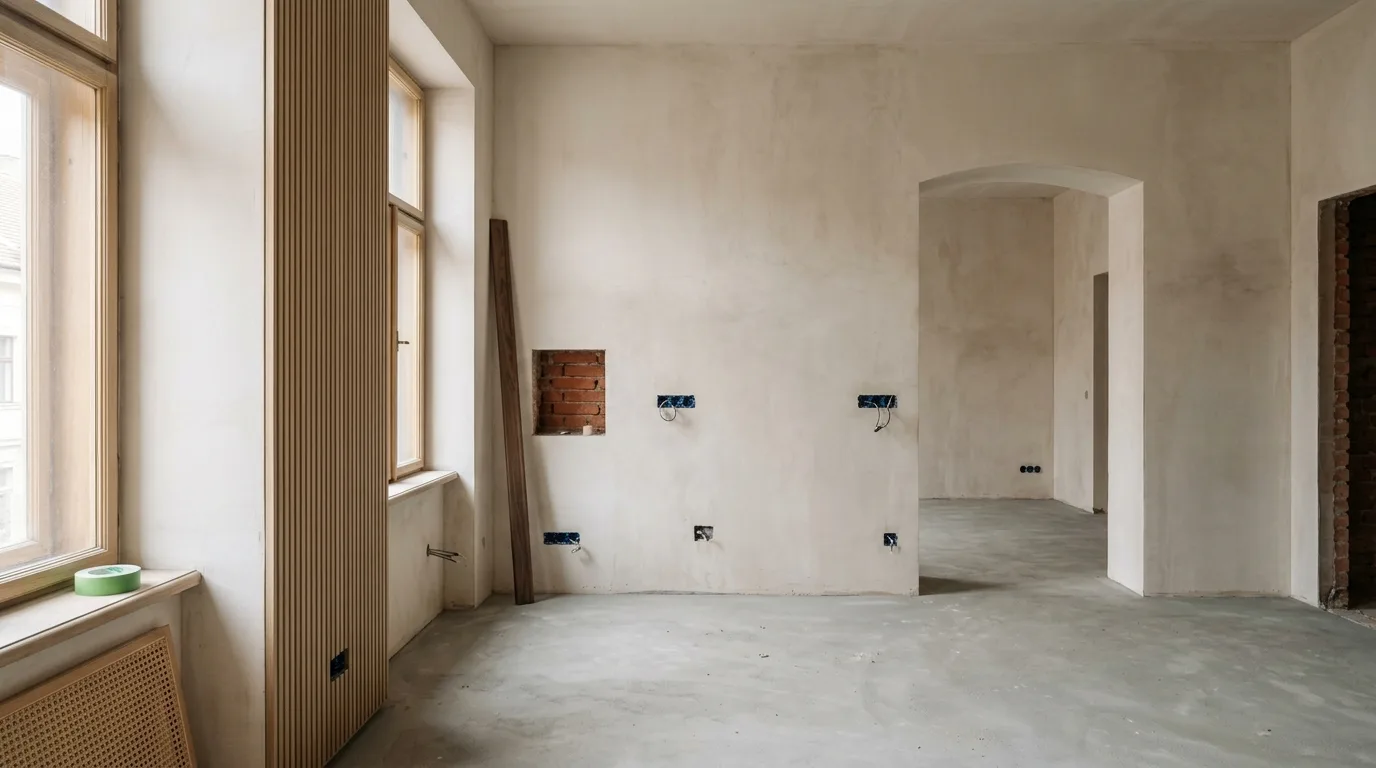
The order of a renovation is not a matter of taste. Every stage has a decision that has to be made by the time the tradesperson walks in. If it has not been made, either the work stops or it ends in something being taken back out.
The order
The green dot marks the only stage that costs nothing in hindsight. At every other one, a decision left unmade means demolition.
1 · Design
This is not the most spectacular stage, but it is the only one in which a mistake can still be corrected for free. This is where the floor plan, the furniture, the finishes, the switch layout and the lighting are settled.
What many people underestimate: the design does not come after the demolition, it comes before it. Demolition is already a decision — about what goes and what stays.
2 · Demolition
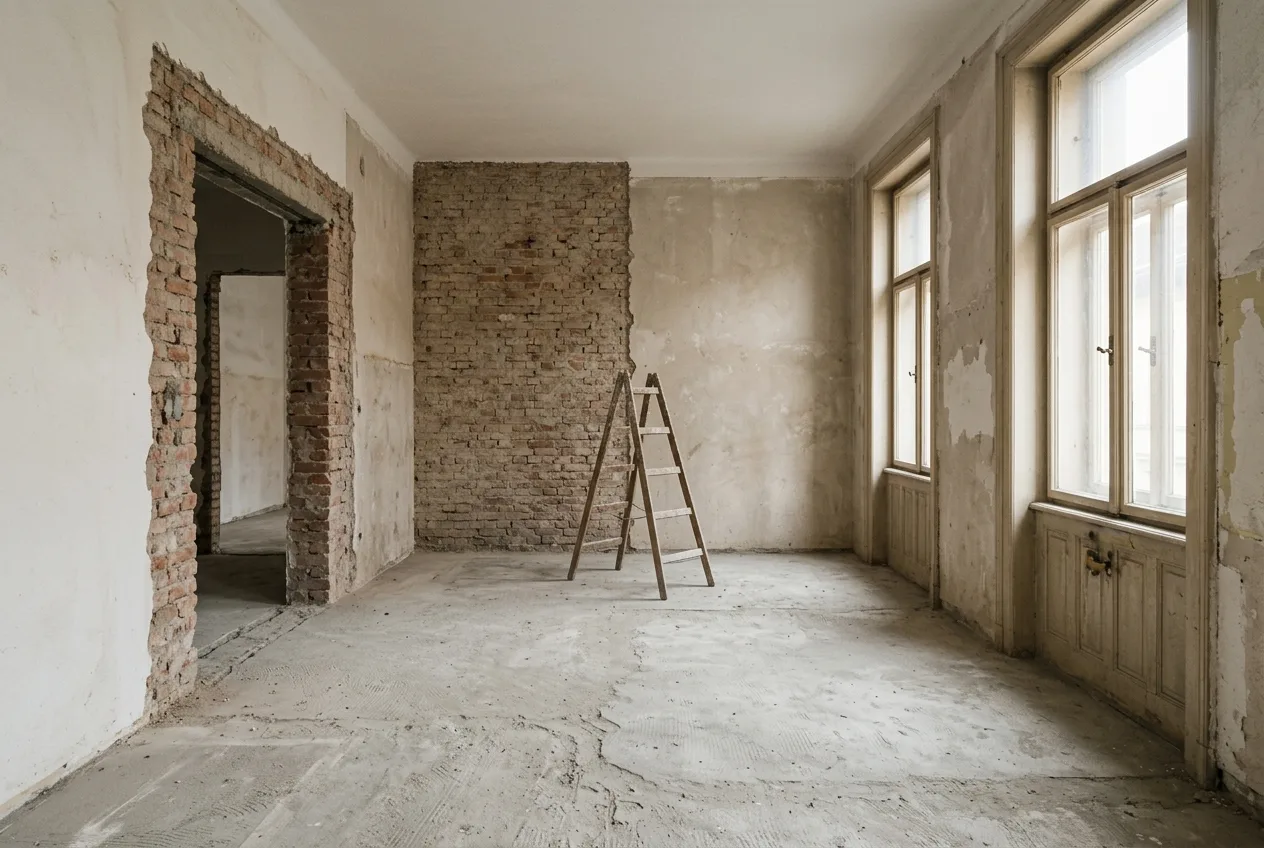
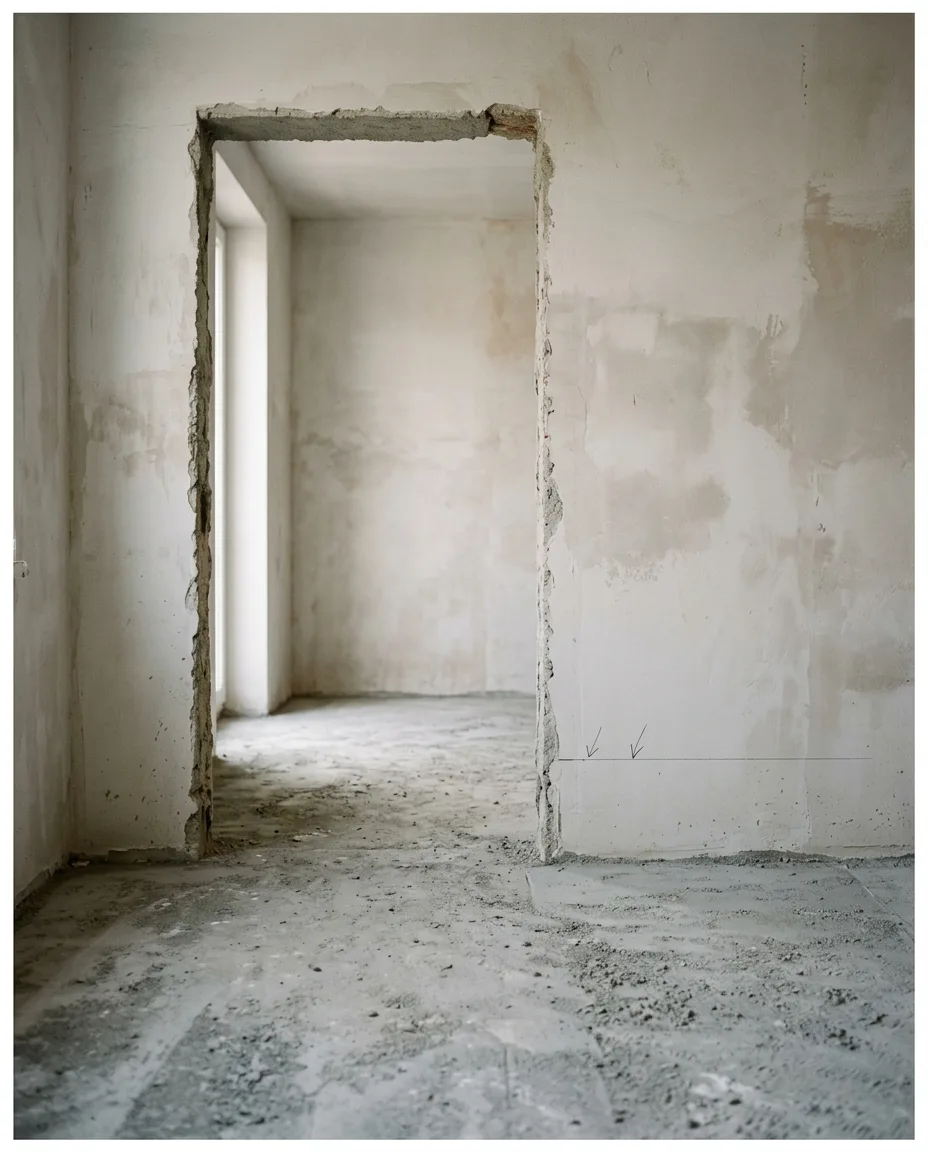
Walls, old finishes, old services. By now it should be settled: what stays and what goes — and what is load-bearing.
In panel-built and brick-block buildings the longitudinal walls are typically load-bearing. No wall may be taken down without a structural engineer’s statement, and this is not a formality: the building association’s consent depends on it too.
3 · Mechanical services
Water, waste, heating and ventilation runs. By now it should be settled: where the basin, the WC, the sink and the washing machine will go.
This is the stage where a late change of mind costs the most. Moving a WC 40 centimetres after the fact means breaking up the floor and the wall.
4 · Electrics
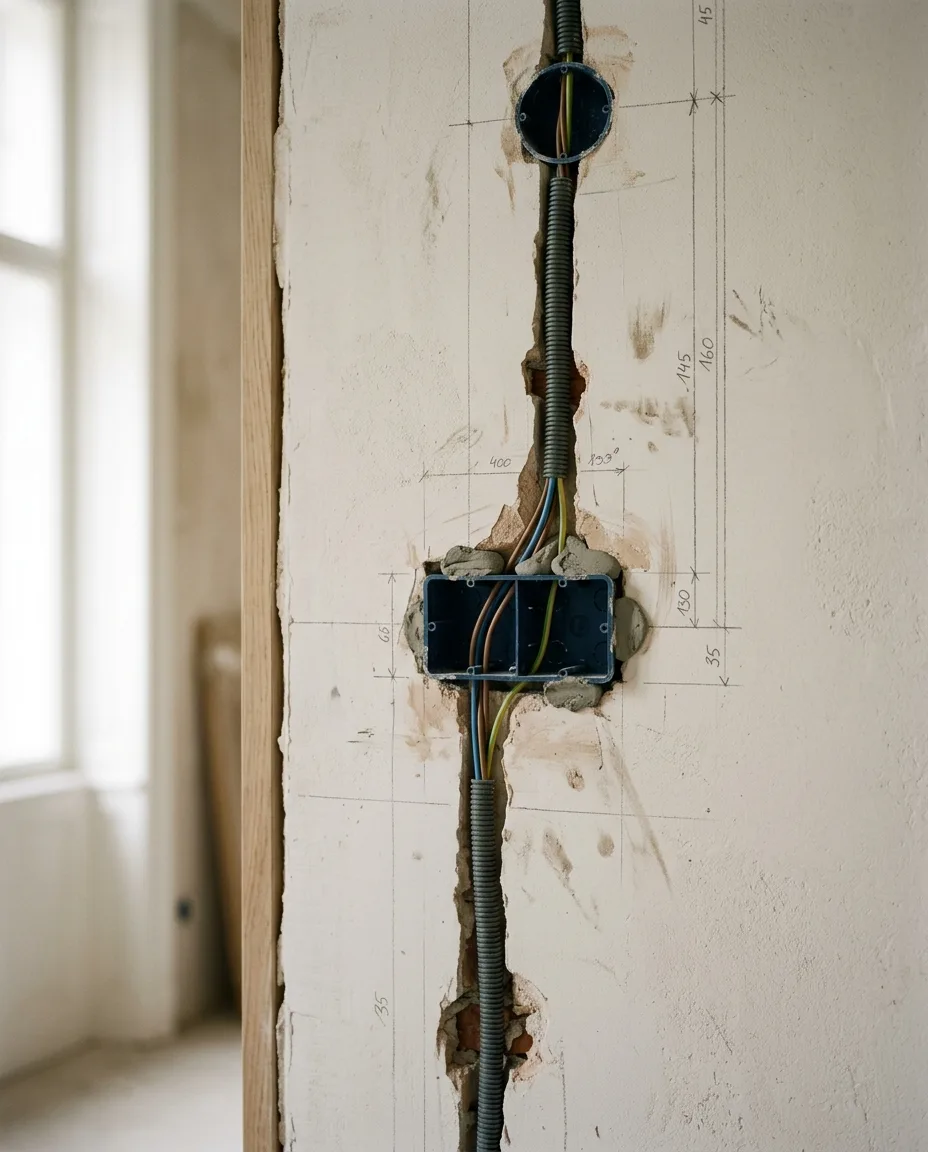
Cabling, back boxes, switches, LED channels. By now the entire switch layout and the position of every socket should be settled.
The most common after-the-fact annoyance is not a missing light fitting but a switch in the wrong place. If there is going to be cove lighting as well, this is when the supply cable has to reach the position of the channel.
5 · Screed
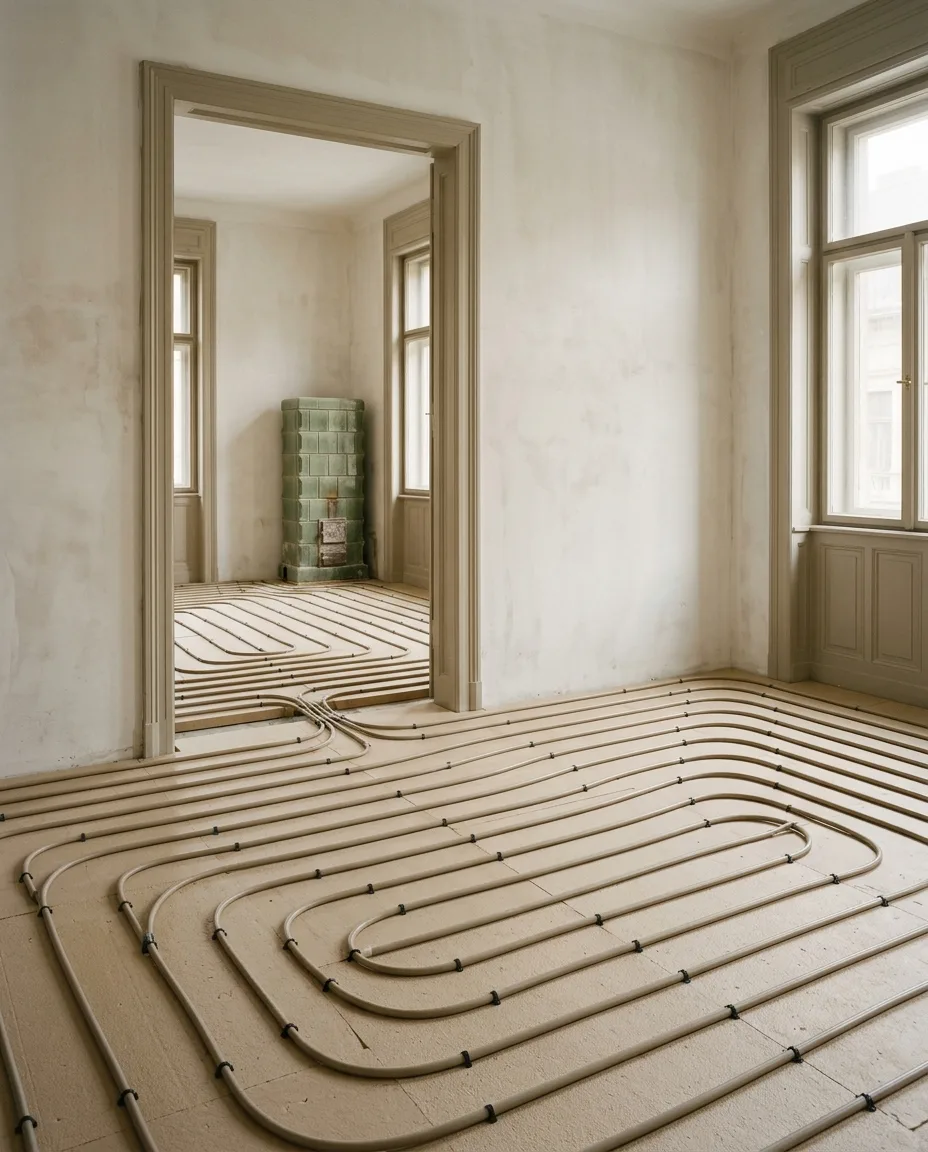
Screed, underfloor heating, falls in the wet rooms. By now the thickness of the final floor finish should be settled, because the level of the screed has to be set to it.
If the living room gets 14 mm parquet and the bathroom a 10 mm tile, a 4 mm difference has to be built between the two screeds — otherwise it ends up as a threshold.
6 · Plasterboard
Dropped ceilings, light coves, stud walls. By now the lighting design should be settled, to the millimetre.
This is the stage at which the depth of the cove, the height of its lip and the distance of the band from the wall are decided. Afterwards there is no way back.
7 · Tiling and floor finishes
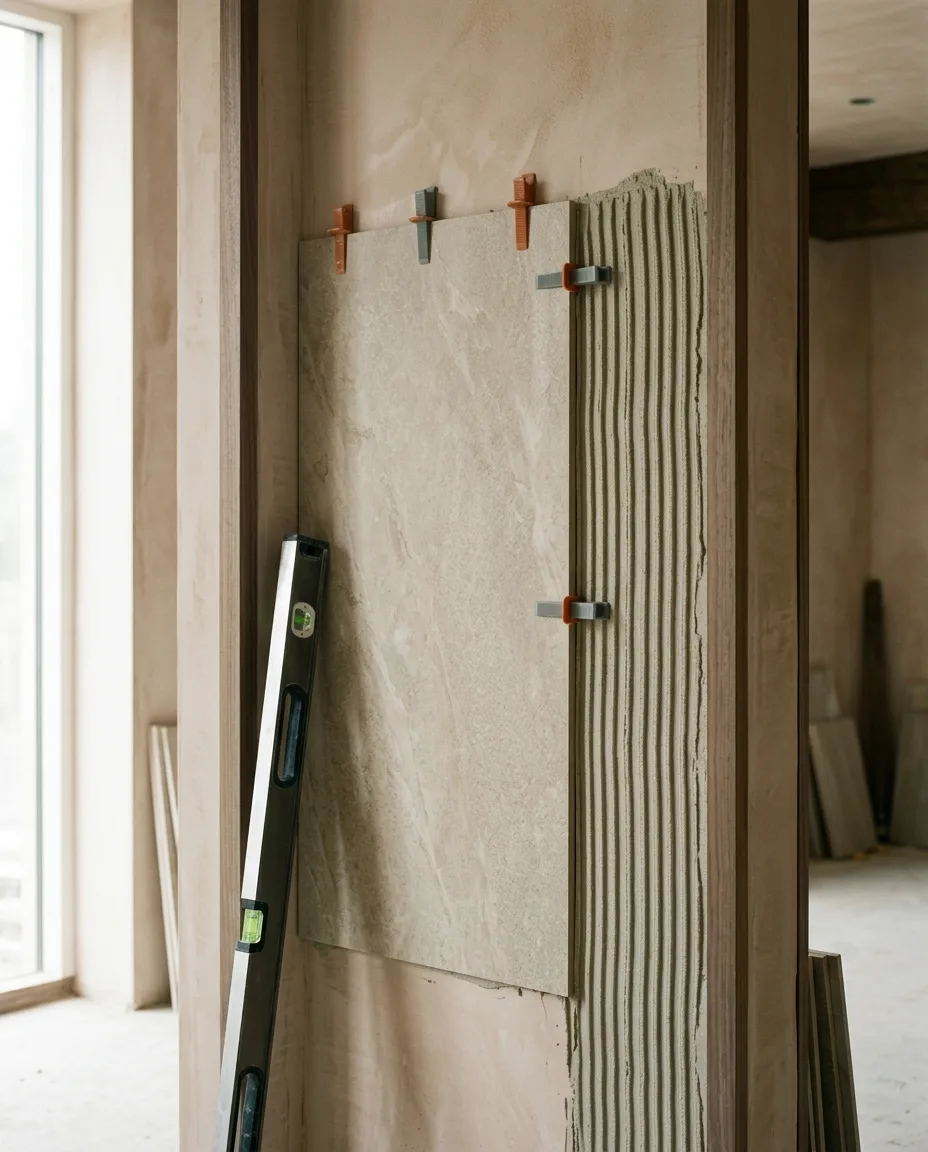
Wall finishes, flooring, stonework. By now the tile setting-out, the grout colour and the edge detail should be settled.
Tile setting-out is half a day of design work, and it is the half day that decides whether the bathroom turns out professional or merely finished.
8 · Painting
Skim coating, painting, lime plaster. By now the final colours should be settled, with code numbers.
Not “some warm beige”. A specific manufacturer, a specific code. The colour has to be approved in the finished room, under the final lighting — not from a catalogue.
9 · Installation
Furniture, sanitaryware, light fittings, doors, ironmongery. By now everything should be on order — bespoke furniture and finishes come with a 6–10 week lead time.
This stage is not about the work but about the logistics. The most common cause of a delay is not the contractor but a handle ordered too late.

How long does it take?
A full renovation of a 60–80 square metre flat realistically takes 4–6 months from demolition to moving in, provided the drawings are finished when the demolition starts.
If the design runs in parallel with the demolition, it can go either way. Timed well, you genuinely gain time: while the demolition is under way the detailed decisions get made, and the trades follow one another without idle time. But if the decisions fall behind the works, the idle time arrives — tradespeople cannot wait: with no decision they move on to the next job and come back a fortnight later. That can mean another 4–8 weeks.
The three most expensive mistakes
1 · The tiles are chosen in the week of the tiling. That leaves no setting-out, no wastage allowance, and the shortfall has to be bought a second time anyway.
2 · The size of the furniture emerges on site. Catalogue dimensions and a real wall never match exactly. That is why the production drawing for a bespoke piece is prepared before the tiling, with surveyed, real dimensions.
3 · There is nobody to make the decision. The most expensive thing in a renovation is not the material but the idle time. That is what design supervision on site is for: someone who makes a decision on site when a question comes up.
Frequently asked questions
What is the first step in a flat renovation?
The design — before the demolition. Demolition is already a decision about what stays, and for that you need to know what the finished state will be. If the demolition starts first, a great deal has to be built back at the end.
Which comes first, painting or tiling?
Tiling, then painting. The tiler makes dust and mortar, which ruins fresh paint. The ceiling is the exception: it is often painted before the floor finish goes down so that it does not have to be masked.
When does the bespoke furniture have to be ordered?
When the tiling starts at the latest, with surveyed, real dimensions. The cabinetmaker typically works to a 6–10 week production time, and the furniture goes in after the painting.
Can you live in the flat during the renovation?
For a full renovation we do not recommend it. For work limited to a single room, yes — but then the dust screening and the schedule of water shut-offs have to be agreed in advance.
Would you like this order set out for your own project? Ask for a consultation — the first conversation is free of charge.
Read next: What does an interior architect cost?