
Concealed lighting: the cove that hides the light source
Concealed lighting with dimensions: how deep the cove is, where the LED strip sits, how many diodes are needed. A section drawing and the usual mistakes.
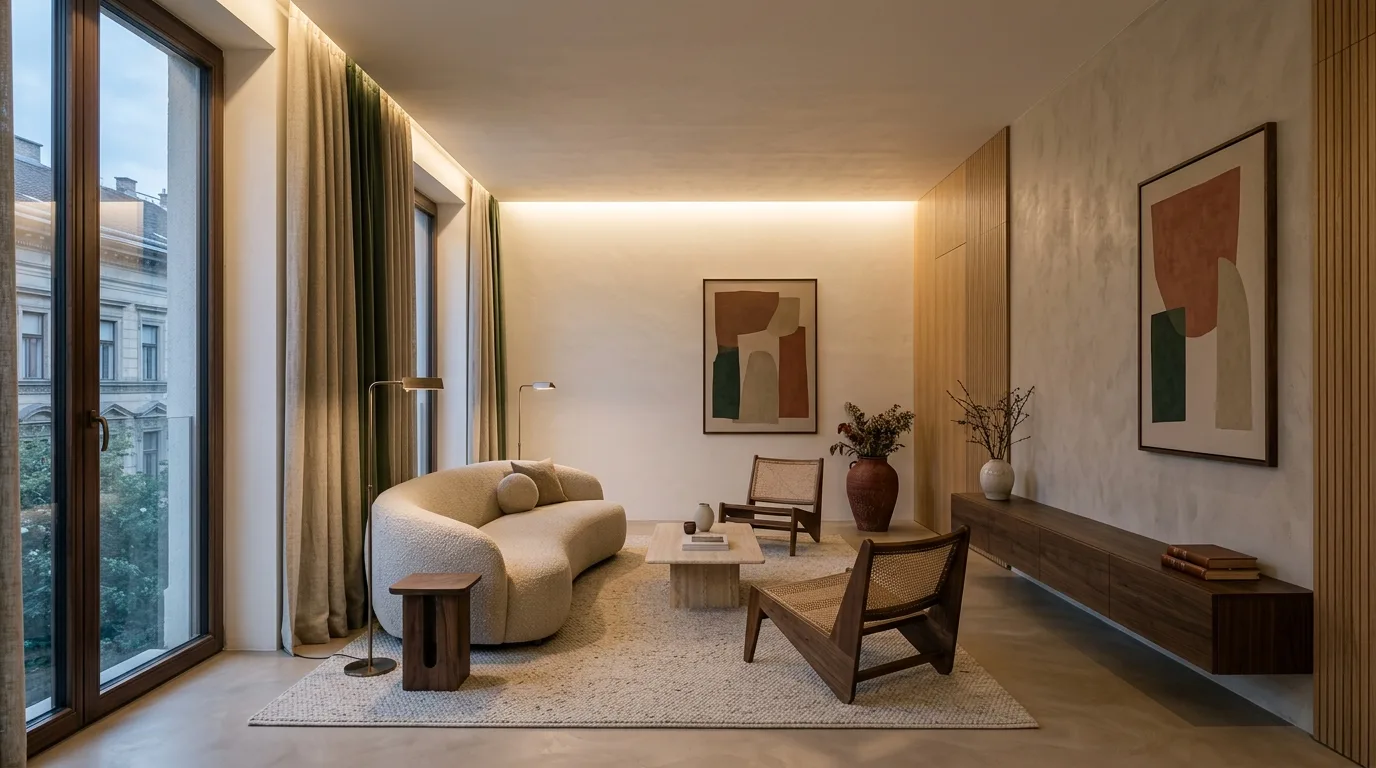
Concealed lighting is concealed because you do not see its source — only the light. If the diodes show, it is not the strip that is wrong. It is the cove.
The section
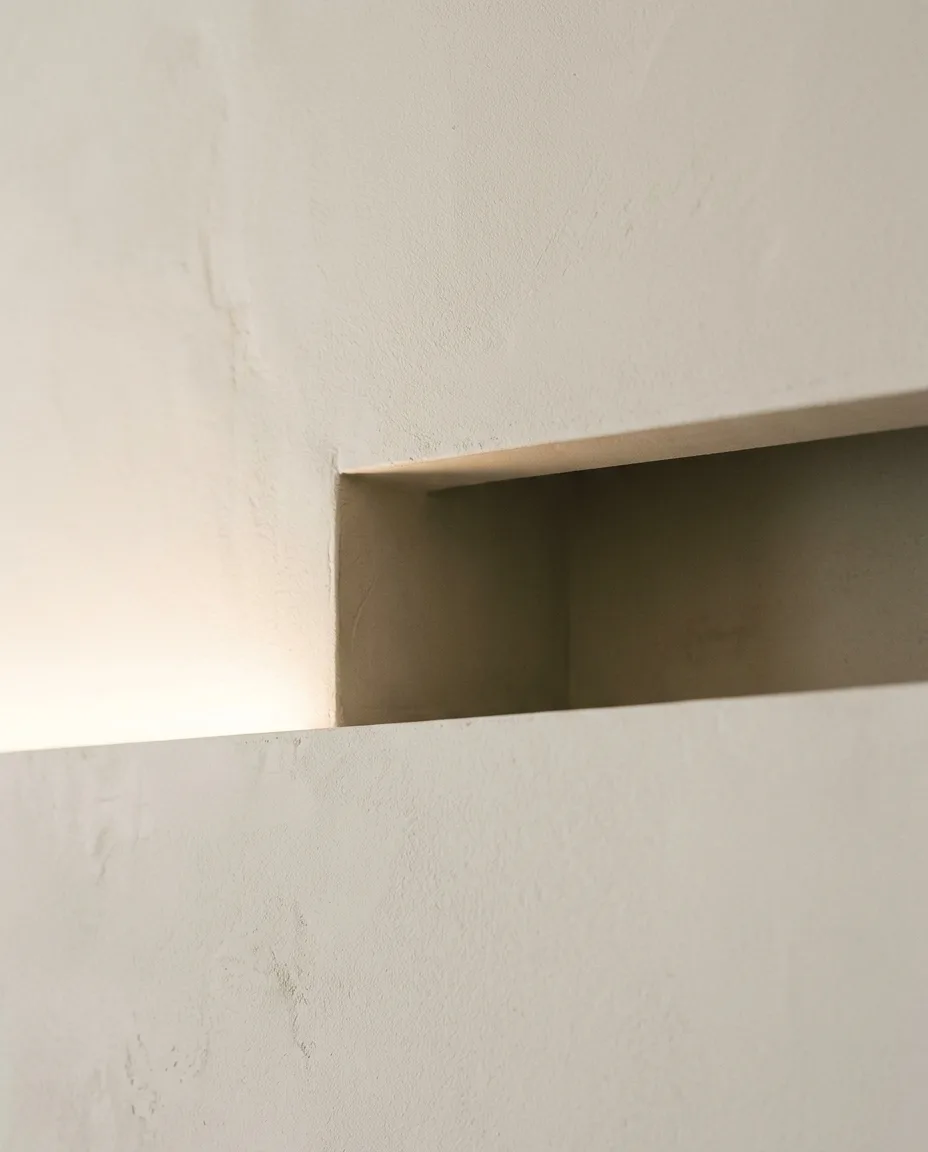
Two numbers: the LED 8–12 centimetres from the wall, the lip 5–8 centimetres high. If either is smaller, the diodes will show.
The four dimensions
Cove depth: minimum 6 cm. This is the space between the dropped ceiling and the slab. In a shallower cove the light cannot spread before it reaches the wall.
The distance of the LED strip from the wall: 8–12 cm. Too close: hard, striped light on the wall. Too far: the light does not reach the wall and only lights the ceiling.
The height of the lip: 5–8 cm. This is what hides the strip. With a two-centimetre lip the strip “hangs out” and throws light into the room — precisely what we set out to avoid.
The length of the cove: continuous, without interruption. If the strip breaks — at a beam, for instance — there will be a dark patch there, and the whole effect is lost.
LED strip: two numbers that matter
Diode density: minimum 120 diodes per metre. With a sparser strip the wall becomes dotted — particularly if it is close by. A 180- or 240-diode strip is better still in a short cove.
Colour temperature: 2700–3000 K, dimmable. Concealed lighting is never task lighting, so there is no reason to go colder. And it should always be adjustable: this layer is at its most beautiful at 20% in the evening.
One more thing worth knowing: the driver should go somewhere accessible, with an access hatch. It is the one component that is certain to fail within ten years — you do not want to be opening up plasterboard to reach it.
Where it is worth putting — and where it is not
Worth it:
- Along the perimeter of the ceiling, washing the wall. This is the classic, and it is the one that opens up a room the most.
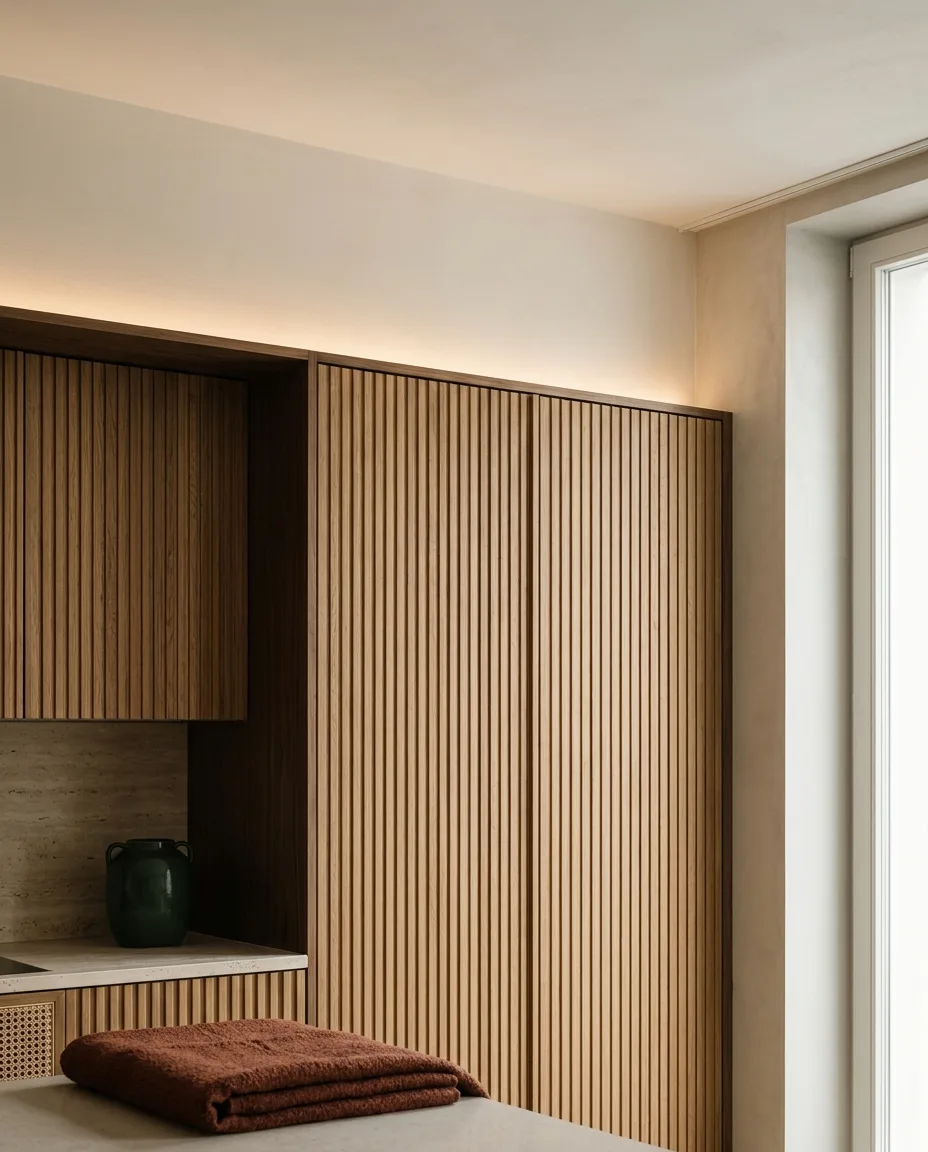
- Above a fitted wardrobe or timber panelling. It makes the furniture appear to float.
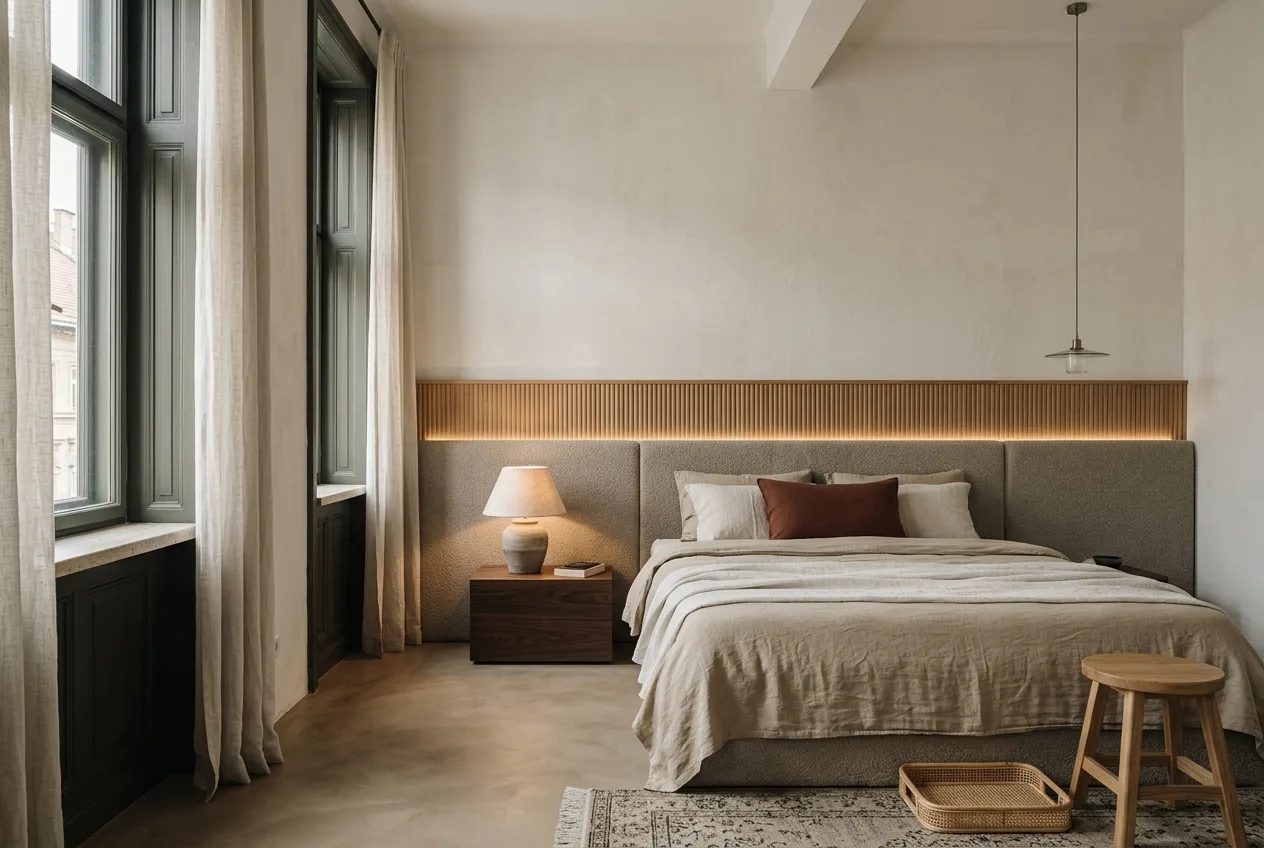
- Above the bed, behind the headboard. Warm, indirect light is not enough to read by, but it is perfect for atmosphere.
- Inside a fitted wardrobe, switched by the door opening.
- Under stairs, under a counter, behind a mirror.
Not worth it:
- Beside the floor, at the base of the wall. Fashionable, but it shows every speck of dust, and in the evening it shines into your eyes when you sit down.
- Above a kitchen worktop as task lighting. Concealed lighting is diffuse — the worktop needs directed light.
- As the only light source in a room. The concealed strip is the general layer; on its own it gives a flat, dull space. We have written separately about the three layers of light.
If there is no plasterboard: coving
In an existing flat where no dropped ceiling is being built, coving for concealed lighting is the realistic route. The logic is the same: the lip of the profile should be at least 5 centimetres, and the strip 8 centimetres from the wall.
What to watch for:
- Rigidity. A thin polystyrene profile sags over time and the line of light becomes wavy. Choose a thicker, rigid profile.
- Joints. Mitred at the corners, filled and painted — not butted together.
- Distance from the ceiling. The lower edge of the profile 15–20 centimetres below the ceiling: that leaves room for the light to spread.
The three most common mistakes
1 · The cove is built after the electrician has been. The supply cable has to be run out to the position of the cove before the plasterboard goes up. There is no good retrofit solution.
2 · The strip is not on its own switch. If the concealed lighting is on the same circuit as the ceiling light, the whole point is lost: being able to switch on this layer alone.
3 · A cheap strip. A poor strip discolours within two years, and it does so unevenly — the wall becomes patchy. This is the item where economising is guaranteed to show.
Frequently asked questions
How deep should a light cove be?
At least 6 cm between the dropped ceiling and the slab, with the concealing lip 5–8 cm high. In a shallower cove the strip shows or gives striped light.
How many lumens are needed per metre of concealed lighting?
As general light, 800–1200 lumens per metre is typical; for mood lighting 400–600 is enough. Diode density matters more: a minimum of 120 diodes per metre, otherwise the wall will be dotted.
Can concealed lighting be added later?
Yes, with a coving solution — but even then the supply cable has to be run from somewhere. The simplest is to take it from an existing wall switch or socket, with a plug-in driver.
How long does an LED strip last?
A good-quality strip lasts 30,000–50,000 hours, which at four hours a day is 20–30 years. The driver fails sooner — which is why it has to be somewhere accessible.
If you would like this detail drawn for your own home — at a size your plasterer can build from — the first consultation is free of charge.
Read next: The three layers of light — a lighting design for the home