
Microcement bathroom: when it is worth it — and when it is not
Microcement bathrooms through a designer’s eyes: where it works, where it fails, what the price per square metre really covers, and what to check with your contractor.
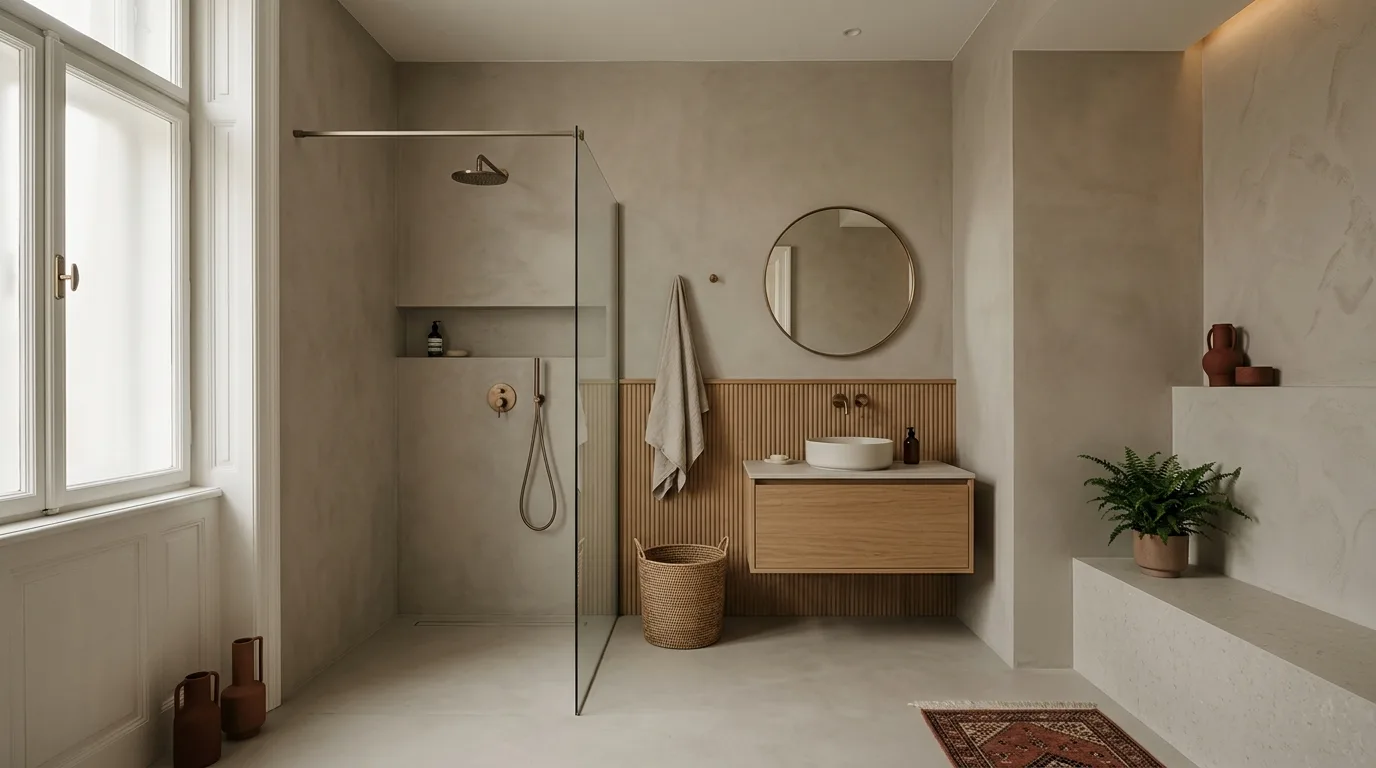
There is a moment in a bathroom when the eye finds nothing to catch on. No grout, no edge, no change. That is what makes a space quiet — and the microcement bathroom does it better than any other finish.
At a glance
| Where it works | Seamless, continuous walls and floors; opening up small bathrooms; can be applied over existing tiles |
| Where it does not | A tray-free fall on a poor substrate; moving, working structures; cheap workmanship |
| Price bracket | Medium–high. The price per square metre is not about the material, it is about the labour |
| Contractor demands | High. This is the material that punishes the tradesman, not the designer |
| Layer thickness | 2–3 mm, in two coats |
What microcement actually is
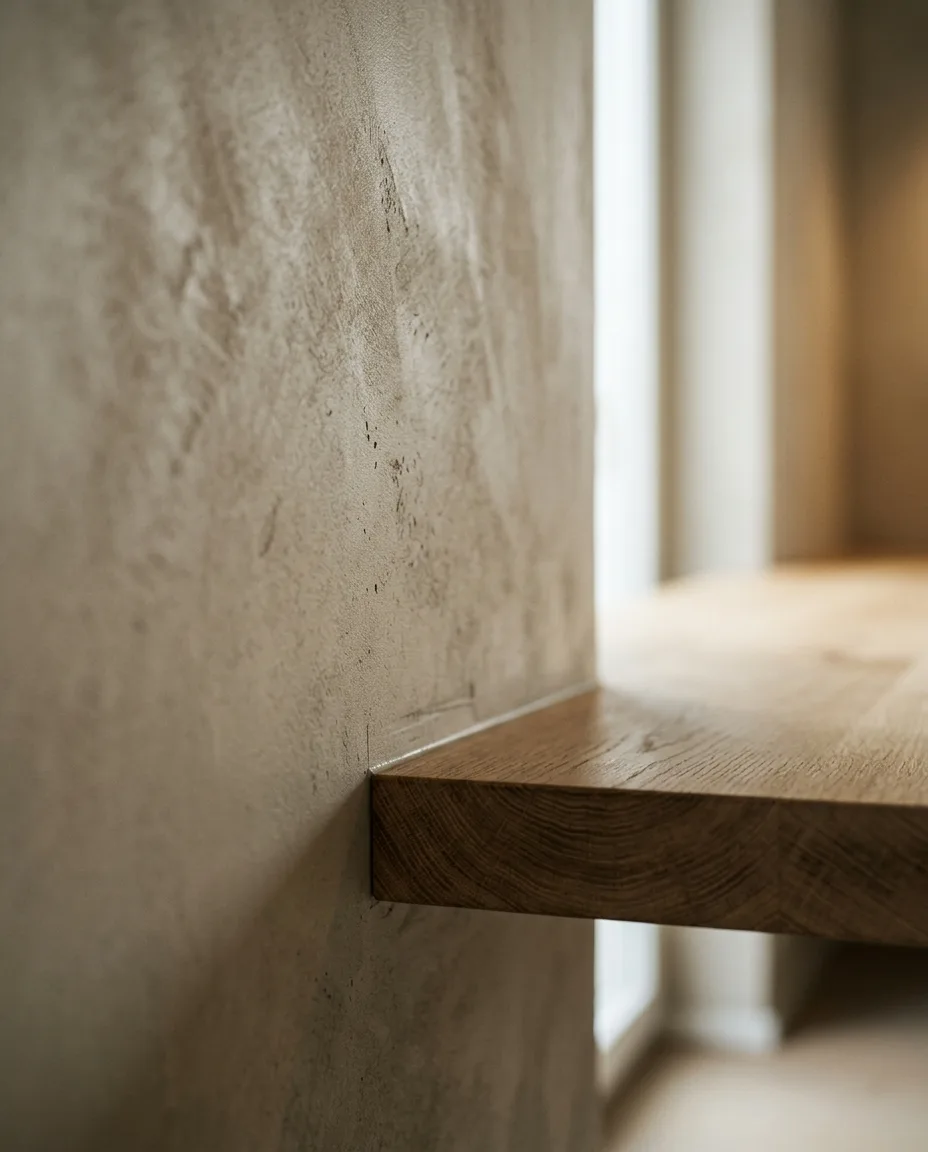
A cement-based, polymer-modified coating applied by hand, with a trowel, in a layer two to three millimetres thick. It is not a tile: it is a coating. That is why it can go over existing tiles, plasterboard, concrete and screed — and why nothing has to be stripped out.
The point, though, is not the technology but its consequence: there is no grout. In a seven-square-metre bathroom, conventional 30 × 60 tiling draws more than a hundred metres of grout lines onto the walls. The eye counts every one of them, and builds its sense of the room’s size from that. Take the lines away and the same seven square metres will feel bigger.
Where it works
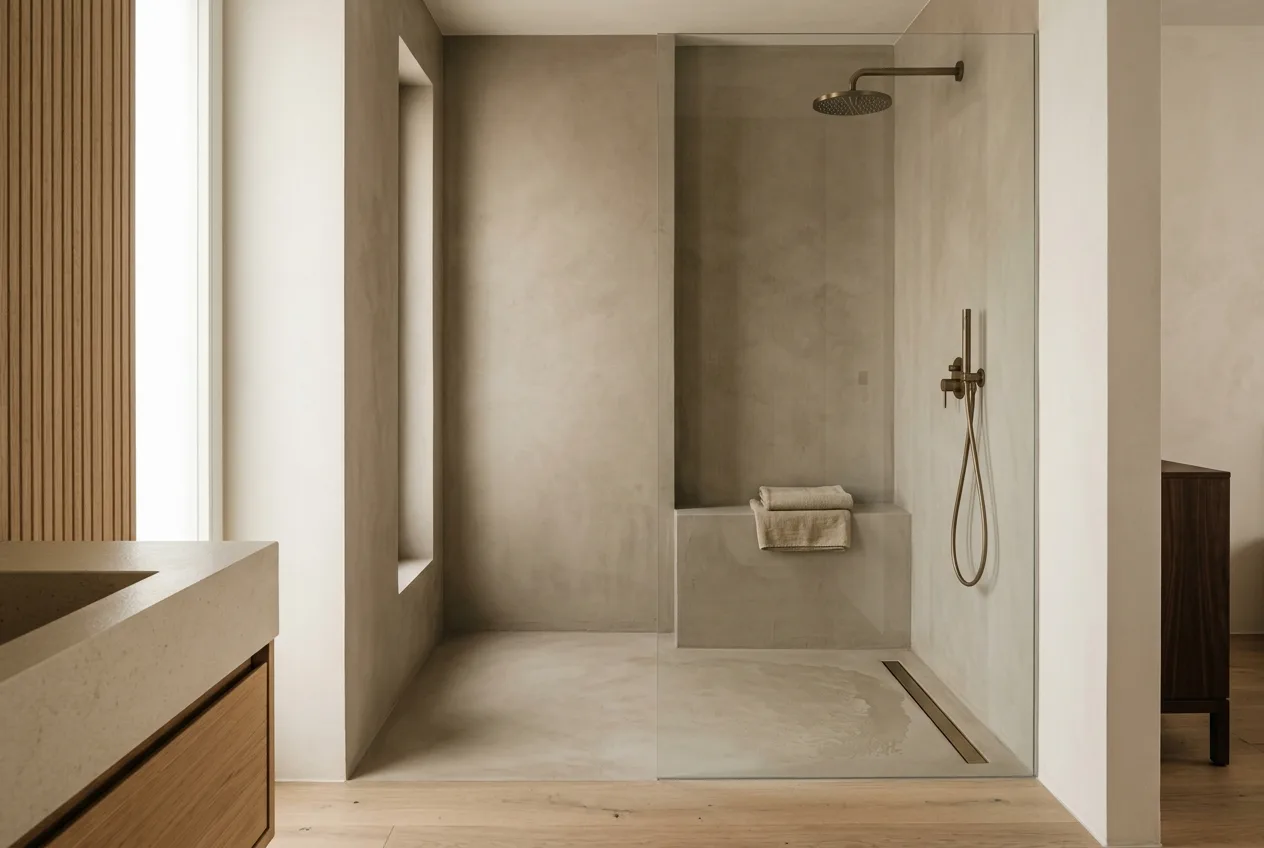
In the shower. This is the strongest point of a microcement bathroom. A tray-free, flush shower in a single continuous surface, with a linear drain along the wall. Without grout, the fall has to be resolved in one single plane — which is why the drain goes against the wall rather than into the middle of the floor.
On the floor. A microcement floor continues in the same tone as the wall, so the boundary of the room blurs. That is the trick that makes even a four-square-metre bathroom feel spacious — provided the dimensions are in the right place as well.
Behind the washstand. Small area, big effect, low risk. If you are trying it for the first time, start here.
Where it fails
This is the part people tend to leave out, and it is the part that matters.
On a poor substrate. If the screed moves, cracks or is damp, the microcement will follow it. Two millimetres cannot hide a structural fault — it only reveals it.
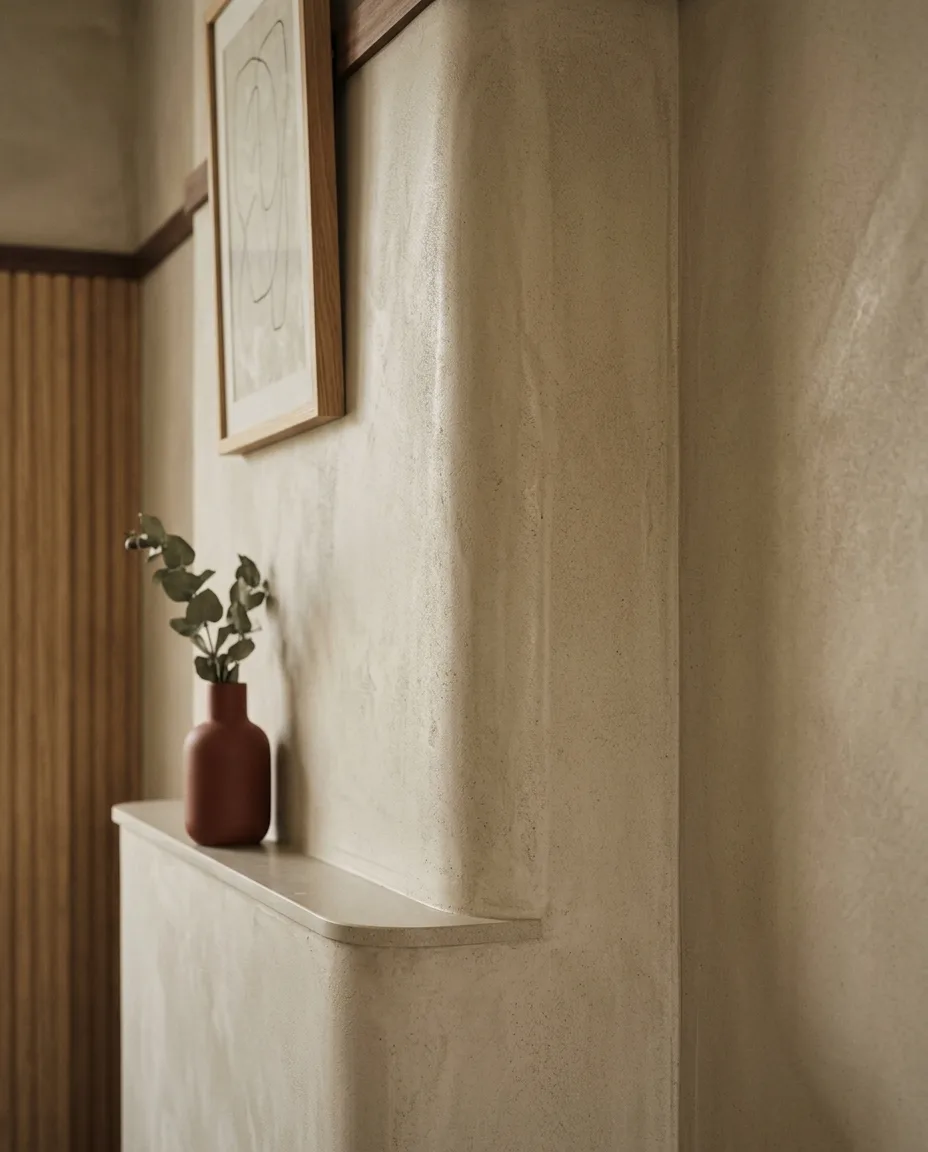
In a sharp internal corner. In corners the surface will crack over time. That is why we ask for a rounded, radiused edge everywhere: that is what holds the coating together.
With the wrong contractor. The second coat has to be applied by the same hand as the first. If the person changes halfway through, it will show on the wall — permanently.
Where there is no sealer. Without sealing, microcement draws in water and stains. The two-component polyurethane top coat is not an option, it is part of the system.
Microcement, travertine or large-format tiles?
The same “quiet, natural surface” feeling — three completely different decisions. The diagram below shows which one does what better:
If your contractor has never worked with microcement, travertine or a large-format tile is the safer decision — with the same calm effect.
How we detail it
With microcement the work is not the surface itself but what happens at its edges. Three details we draw in every one of our schemes:
- Floor-to-wall transition: a radiused cove, not a skirting.
- Washstand junction: a 4 mm shadow gap between the counter and the wall so the two materials can move independently.
- Where the door lining meets the finish: a concealed frame, so the surface is not broken.
When we work with full design documentation, these three drawings go to the contractor on separate sheets. Not because they are complicated — but because without them they will be invented on site.
What does it cost?
There is no single figure for the price of microcement per square metre, because the material is the smaller half of the cost. The larger half is surface preparation and hand work: the same square metre costs three times as much on a poor substrate as on a good one.
What is worth knowing: microcement sits in the medium–high price bracket, roughly between a good-quality large-format tile and a natural stone. If someone offers it substantially cheaper, they are not saving on the material but on the build-up.
Frequently asked questions
Can it be applied over existing tiles?
Yes, and that is one of its greatest advantages. The tile surface has to be sanded and primed and the grout lines levelled out — but it can be done without stripping anything out. That is what makes a microcement bathroom refurbishment fast: no rubble, no chasing.
How hard-wearing is it?
Sealed, it copes well with daily use, but in abrasion resistance it falls short of ceramic and natural stone. On a floor it is worth re-sealing after 8–10 years. In return it can be repaired in patches — which is more than can be said for a cracked tile.
What colours can it be?
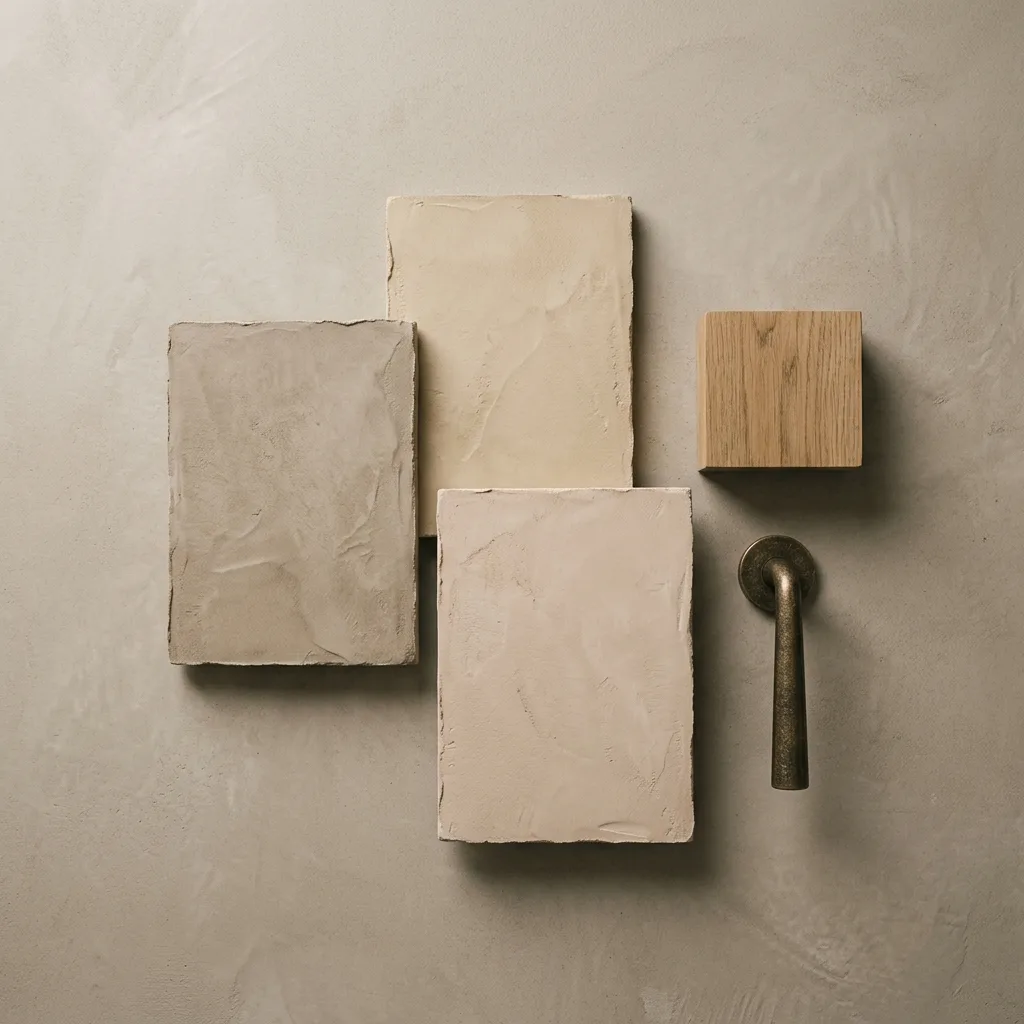
Practically any, but microcement only works when it is a tone rather than a colour. Warm greyish beige, sand, pale clay — these are the ones that make a space calm. With a dark shade, expect limescale to show more visibly.
Is it slippery?
It depends on the sealer. In a shower ask for a matt, anti-slip top coat — the satin version is dangerous when wet.
If this sounds familiar — that you want the quiet, continuous surface but do not know whether your bathroom’s substrate can take it — see how we work, or look through our portfolio, where the use of materials is built from many decisions like this one.
Next read: The free space you must not take away — bathroom ergonomics